Hello!!
To say the last year has been nutso would be an understatement. Here's a recap: we had been planning a relocation. Our house was on the market for well over a year, which entailed frequent showings. If you've ever tried to sell your house with small children, I'm sure you can empathize. Suffice it to say more than a few bottles of wine were consumed in my house. In January 2013, we got an offer on our house which meant we had to address an inspection, appraisal, etc. and prepare to move to a new town...thus leaving my job, my son's school district, my daughter's daycare and all of our local friends. Also, we had to pack up our home, find a place to live and basically find a new everything...all the while, it seemed as though my husband was away on a work trip every day. As you can imagine, writing my blog fell to the bottom of my to-do list.
Unfortunately, we were unable to find "the" house before we moved, so we secured a rental house. I'll spare the details on the rental, but let's just say it was an "antique". Let your imagination roam...
Fortunately, 2 days after we moved we found "the" house (in the middle of a a snowstorm). A septic system, new mortgage and a month later we moved in!! Fast forward to today (a week after we closed) and things are starting to progress. We are not settled by any stretch...I think the packed boxes still outnumber the unpacked ones. I'm still in the process of looking for a new job and a new preschools/daycare for Adela. But, we are in the new house, I finally have cable, Internet and phone (after going 7 weeks without), and my kitchen is completely unpacked (and is oh-so-pretty).
Tonight, I decided to break in the kitchen and try a recipe for Cajun shrimp tacos from Cooking Light. Now, I'm not a "follow a recipe to a t" kind of gal, but I use a recipe more as a guideline.
What I did follow on the directions was to "char" the corn tortillas on the burner. I have a feeling this direction was meant for the lucky individuals who have a gas burner...since it left a bit of a mess on my electric burner. That combined with my dogs "accident" on the carpet in our TV room means we have already broken our house or truly moved in.
Ugh...either way we're starting to settle. I hope to be back to a regular schedule on my blog and to share recipes. I can say that I've definitely missed sharing my recipes and bits of life with you (and by "you" I mean the two of you who are reading this...probably my husband and mom ;) )
Until then, I'll be buried in boxes!!
Wednesday, May 8, 2013
Tuesday, February 7, 2012
Fake milkshake: berry smoothie
Fake Milkshake: berry smoothie
Yesterday, I took the day off to take Bodie to get a cavity filled. Yes, that’s right, my five-year-old son had a cavity. Bring on the “horrible mother” complexes. While I don’t claim to be an at-home dental hygenist, I think I’m decent when it comes to our teeth cleaning rituals. Brett or I brush our kids teeth every single night and if I’m being generous, their teeth get flossed about 50% of the time. We let them brush their own teeth in the morning and “attempt” to limit fruit snacks, etc. Again, probably not the poster child for kids dental hygiene, but I definitely didn’t expect the cavity prognosis at his recent visit.
In talking with the dentist, she asked again about whether or not we have floride in our water, because with good dental habits, a lack of floride in the water could be just the thing to give him the cavity. For the past few years, I’ve been taking the “of course, I’m sure we have floride” line when asked this question (good lord – it’s not like we live in a swamp or soemthing). Post cavity, I finally called the town and come to find out – we don’t have floride in our water.
Part of me is back on the horrible mother train…why did I not check into the floride earlier. The other part? Secretly (well not so secretly anymore) relieved that it wasn’t something I did that gave him the cavity (that is, of course, if you don’t think about the fact that I never got him the floride).
Flash back to yesterday. Bodie did awesome at the dentist. He went in by himself (which nearly broke me in two…seriously, will a day come in my children’s lives when I don’t cry at EVERYTHING??). He came out with a fixed tooth and a numb mouth, but in one piece. His treat? He earned himself a McDonald’s milkshake (In my defense, the hygenist said no solid food and something cold…what was I supposed to do?) Obviously I had to get Adela a milkshake too, so one strawberry and one chocolate milkshake later we were on our way home. Adela was done after only a few sips, and that evil thing stared at me all the way home. Good lord milkshakes are yummy…and I managed to put down half of it down before we got home. (ooops)
We don’t make milkshakes a habit at our house, but we do like our smoothies (or smoobies as my kids call them). Until yesterday, I would say that this fruit smoothie tastes a lot like a berry chocolate milkshake. After tasting the real thing yesterday, I’ll renig that comment, but it’s a pretty good smoothie and makes a super healthy and easy breakfast!
The recipe
2 cups frozen mixed berries
1 frozen banana, peeled and cut into chunks
¾ cup vanilla yogurt
½ cup peanut butter
2 scoops of chocolate whey protein powder (photo below if you're not familiar)
Milk
Add the berries, banana, yogurt, peanut butter and whey protein powder to a blender.
Add enough milk to come just below the top of the ingredients. Blend on full power, and add more milk if it’s getting stuck.
This made enough for everyone in my house for breakfast and enough for me to bring a little afternoon snack!
Wednesday, January 25, 2012
Pistachio ice cream (wasabi) salmon
This week’s blog was intended to be a recap of our Sunday afternoon football-watching feast in order to get everyone psyched up for the Supberbowl (go Pats!). Unfortunately, my “football feast” consisted of 500 calories-worth of Saltines and a liter of gingerale because I found myself at the mercy of a stomach bug. And for those of you playing along at home – 500 calories worth of Saltines roughly equals one sleeve. Am I the
only one who thinks 500 calories is a lot for a sleeve of Saltines? I realize that is a lot of crackers, but for something that weighs nearly next to nothing…sigh. Apparently my "portion control issues" are in effect even when I can barely eat anything.
Anyway, lucky for me and all of the people visiting Hannaford that day, Brett offered to go grocery shopping. I’m pretty bad about writing out what I need at the grocery store, I usually just know what I need and get it. Additionally, I couldn’t wrap my head around meal planning that day so I wasn’t sure what our dinner situation would be this week, and more importantly what my blog would be this week. Thankfully, Brett came home with salmon and even more thankfully I got rid of that nasty bug and was able to eat it!
So I knew that I had to diversify from my standard salmon, because one, I’ve already posted it and two, this was my one blog shot for the week. SO I decided to incorporate wasabi and change up the topping a bit. NOTE: If you’re not getting the “pistachio ice cream” title, watch this:
What this scene doesn't show if afterwards when mater freaks out and starts yelling "the pistachio ice cream has turned.” Thinking about this scene still makes me giggle. If you’re like Mater and have never had wasabi, please know that it will completely clean out your sinuses. In fact both mine and my “helper’s” eyes started watering when we were mixing it up.
Personally I can’t get enough wasabi, and if I were to make this just for myself, I’d add more wasabi powder. The amount listed below may seem like a lot, but I would call it perfect for a “standard eater.” If you’re super sensitive, maybe cut back a little. Brett and I both gave this the thumbs up. Even though the ingredients are pretty similar to my standard salmon, it tasted completely different (thank you pistachio ice cream!).
The recipe2 portions salmon fillet (Brett bought two pieces. If you are ordering a fillet, I usually order ¾ lb for the two of us).
2 tbsp. wasabi powder
Sprinkling of water
2 tbsp grain dijon mustard
Juice of 1 lemon
2 tbsp olive oil
½ cup whole wheat bread crumbs
Preheat oven to 400. Add drops of water to wasabi powder to make a thick paste (does not take much).
Stir in mustard, lemon juice, olive oil and breadcrumbs. Mixture should be a pasty-consistency.
Spread over the top of the salmon in a thin layer and bake for 20 minutes or until cooked through (may be more or less depending on the thickness of your salmon).
I served the salmon with roasted broccoli and wild rice.
This week’s blog was intended to be a recap of our Sunday afternoon football-watching feast in order to get everyone psyched up for the Supberbowl (go Pats!). Unfortunately, my “football feast” consisted of 500 calories-worth of Saltines and a liter of gingerale because I found myself at the mercy of a stomach bug. And for those of you playing along at home – 500 calories worth of Saltines roughly equals one sleeve. Am I the
only one who thinks 500 calories is a lot for a sleeve of Saltines? I realize that is a lot of crackers, but for something that weighs nearly next to nothing…sigh. Apparently my "portion control issues" are in effect even when I can barely eat anything.
Anyway, lucky for me and all of the people visiting Hannaford that day, Brett offered to go grocery shopping. I’m pretty bad about writing out what I need at the grocery store, I usually just know what I need and get it. Additionally, I couldn’t wrap my head around meal planning that day so I wasn’t sure what our dinner situation would be this week, and more importantly what my blog would be this week. Thankfully, Brett came home with salmon and even more thankfully I got rid of that nasty bug and was able to eat it!
So I knew that I had to diversify from my standard salmon, because one, I’ve already posted it and two, this was my one blog shot for the week. SO I decided to incorporate wasabi and change up the topping a bit. NOTE: If you’re not getting the “pistachio ice cream” title, watch this:
What this scene doesn't show if afterwards when mater freaks out and starts yelling "the pistachio ice cream has turned.” Thinking about this scene still makes me giggle. If you’re like Mater and have never had wasabi, please know that it will completely clean out your sinuses. In fact both mine and my “helper’s” eyes started watering when we were mixing it up.
Personally I can’t get enough wasabi, and if I were to make this just for myself, I’d add more wasabi powder. The amount listed below may seem like a lot, but I would call it perfect for a “standard eater.” If you’re super sensitive, maybe cut back a little. Brett and I both gave this the thumbs up. Even though the ingredients are pretty similar to my standard salmon, it tasted completely different (thank you pistachio ice cream!).
The recipe2 portions salmon fillet (Brett bought two pieces. If you are ordering a fillet, I usually order ¾ lb for the two of us).
2 tbsp. wasabi powder
Sprinkling of water
2 tbsp grain dijon mustard
Juice of 1 lemon
2 tbsp olive oil
½ cup whole wheat bread crumbs
Preheat oven to 400. Add drops of water to wasabi powder to make a thick paste (does not take much).
Stir in mustard, lemon juice, olive oil and breadcrumbs. Mixture should be a pasty-consistency.
Spread over the top of the salmon in a thin layer and bake for 20 minutes or until cooked through (may be more or less depending on the thickness of your salmon).
I served the salmon with roasted broccoli and wild rice.
Tuesday, January 17, 2012
Are you there blog? It's me, Jen...with a burrito bowl
Back to blogging with a burrito bowl
If anyone’s interested, I’m resolved to writing my blog again…if you’re not interested, well that’s OK too. For the record, I didn’t stop writing because I stopped cooking, or because I hate blogging – I had more than I could handle on my plate, and when it came down to it, the blog got cut.
You know how something like that starts, right? You stop doing something for a week or two which turns into a month and the next thing you know Christmas is over and you’re surrounded by candy wrappers and empty bottles of Baileys. (No?? is that just me?) Just kidding…that didn’t actually happen, but I didn’t intend to stop blogging for good either.
SO I’m back..and I’m cooking and my kids are continuing to NOT eat what I make. Seriously, dinner has turned into a ridiculous three-ring circus at my house. I feel like a big Italian mama from a movie who’s constantly saying “EAT”! One dinner I can kinda/sorta get them to eat…burito bowl. The bonus? You can have dinner completely on the table in less than 20 minutes. Literally…this has become a new weekly staple at our house. It’s certainly not a creative stroke of genius, but because it’s healthy, fast and I can get my kids to eat it – I obviously wanted to share!
The recipe:1 lb thin sliced chicken breasts
1 carton chicken broth (4 cups) (you can use water too)
Bay leaf
1 package Uncle Ben's 90 second whole grain rice
1 can black beans, rinsed and drained
1 cup frozen corn, defrosted
1 avocado
½ lime
2 scallions, chopped
2 cloves garlic
1 tbsp olive oil
Salt and pepper
1 tsp chili powder
Salsa
Shredded cheese
Tabasco (if desired)
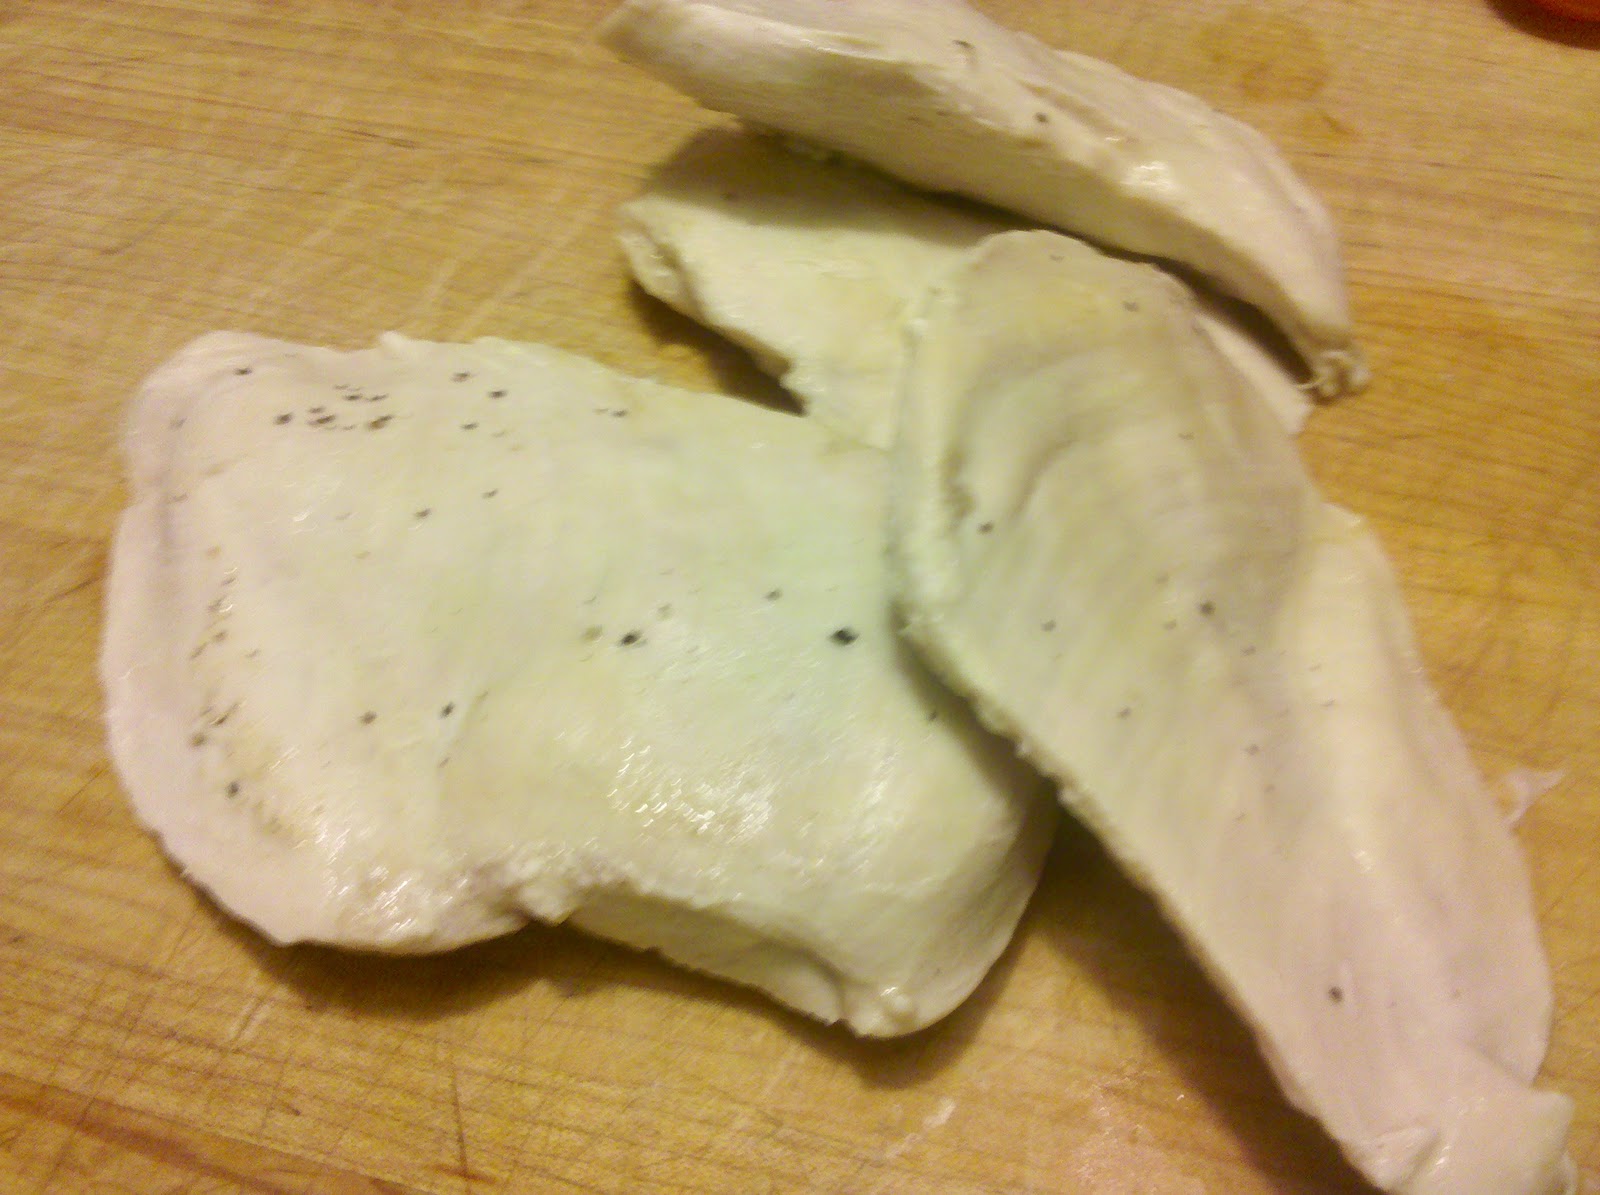
Pour chicken stock in a large skillet on high and add garlic, black pepper, salt and bay leaf. Cover and bring to a boil. Once it's boiling, add chicken breasts, re-cover and cook for 10 minutes or until chicken is cooked through. Remove chicken and let cool for 5 minutes.
Once it’s cooled, shred with two forks (I cooked an extra chicken breast to throw into a couple of salads this week.).
Meanwhile, cook rice according to package directions, remove from the microwave and let stand.
Mix black beans with garlic, chili powder, salt and pepper and heat in the microwave for 1 minute.
Add rice and check for seasoning Dice avocado, and top with lime juice. In your dinner bowls, divide the rice bean mixture and top with chicken, corn, shredded cheese, scallions and salsa. I like to pop mine in the microwave for one minute to heat up the salsa. Top with avocado and serve.
I serve my kids the rice bean mixture (pre-chili powder), and separate out chicken, corn, avocado. I add some fruit, chunks of cheese and grape tomatoes to their plates (and these days ranch dressing…I can get them to eat the chicken if they’re dipping).
This recipe makes enough for two adult and two kid servings…well my kids anyway. If I had teenagers I would definitely up the ante!
If anyone’s interested, I’m resolved to writing my blog again…if you’re not interested, well that’s OK too. For the record, I didn’t stop writing because I stopped cooking, or because I hate blogging – I had more than I could handle on my plate, and when it came down to it, the blog got cut.
You know how something like that starts, right? You stop doing something for a week or two which turns into a month and the next thing you know Christmas is over and you’re surrounded by candy wrappers and empty bottles of Baileys. (No?? is that just me?) Just kidding…that didn’t actually happen, but I didn’t intend to stop blogging for good either.
SO I’m back..and I’m cooking and my kids are continuing to NOT eat what I make. Seriously, dinner has turned into a ridiculous three-ring circus at my house. I feel like a big Italian mama from a movie who’s constantly saying “EAT”! One dinner I can kinda/sorta get them to eat…burito bowl. The bonus? You can have dinner completely on the table in less than 20 minutes. Literally…this has become a new weekly staple at our house. It’s certainly not a creative stroke of genius, but because it’s healthy, fast and I can get my kids to eat it – I obviously wanted to share!
The recipe:1 lb thin sliced chicken breasts
1 carton chicken broth (4 cups) (you can use water too)
Bay leaf
1 package Uncle Ben's 90 second whole grain rice
1 can black beans, rinsed and drained
1 cup frozen corn, defrosted
1 avocado
½ lime
2 scallions, chopped
2 cloves garlic
1 tbsp olive oil
Salt and pepper
1 tsp chili powder
Salsa
Shredded cheese
Tabasco (if desired)
Pour chicken stock in a large skillet on high and add garlic, black pepper, salt and bay leaf. Cover and bring to a boil. Once it's boiling, add chicken breasts, re-cover and cook for 10 minutes or until chicken is cooked through. Remove chicken and let cool for 5 minutes.
Once it’s cooled, shred with two forks (I cooked an extra chicken breast to throw into a couple of salads this week.).
Meanwhile, cook rice according to package directions, remove from the microwave and let stand.
Mix black beans with garlic, chili powder, salt and pepper and heat in the microwave for 1 minute.
Add rice and check for seasoning Dice avocado, and top with lime juice. In your dinner bowls, divide the rice bean mixture and top with chicken, corn, shredded cheese, scallions and salsa. I like to pop mine in the microwave for one minute to heat up the salsa. Top with avocado and serve.
I serve my kids the rice bean mixture (pre-chili powder), and separate out chicken, corn, avocado. I add some fruit, chunks of cheese and grape tomatoes to their plates (and these days ranch dressing…I can get them to eat the chicken if they’re dipping).
This recipe makes enough for two adult and two kid servings…well my kids anyway. If I had teenagers I would definitely up the ante!
Tuesday, August 9, 2011
Portabella BLTs
Portabella BLTs
When it comes to breakfast meat, the Chenail's are in the breakfast sausage camp. Not for any particular reason, it just happens to be what we go to. Lately, however, I've been craving a BLT. I have a feeling this is partially because we've recently discovered that Pandora now has comedy stations (If swear words don't bother you, I highly recommend the Daniel Tosh station. if swear words do bother you, then perhaps this is not the genre for you...) At any rate, Brett has been quoting some Jim Gaffigan jokes lately. Apparently, he does a bacon bit (get it???) No, seriously, he does. Something about bacon being a food group...I don't know, but it obviously put bacon on my brain.
Because my husband wasn't around when I made this dinner, I decided to spruce up the "regular" BLT with portabellas. Light bulb...so good!! *Note... a side of sweet potato fries would have been amazing with this. Instead, I ate my kids leftover bacon as my accompaniment. Yup...I felt SLIM after that! **Addendum note: I use center cut bacon. Turkey bacon is OK, but center cut tastes more like the real thing. With 70 calories and 4.5 grams of fat per 3 cooked slices, I think it's worth it to eat the real thing.
Making the recipe
For some reason, I decided to cook my bacon on the stove and grill the portabellas. You could cook everything on the stove or everything on the grill (yes...you can grill bacon). Up to you. Doing it half and half worked fine for me. I was feeling in the mood for a wrap, so used a tortilla instead of bread. You could totally do bread, though. I also don't do mayo...so I topped mine with a drizzle of Newman's Own Light Cesear dressing. feel free to "dress" with whatever you like!
The results
Seriously...this was SO good! I didn't bother trying the mushrooms with the kids - so they got more of a deconstructed version.
The recipe
4 slices center cut bacon
2 potabella caps
drizzle of balsamic vinegar and olive oil
salt and pepper
sprinkle of shredded cheddar cheese (or whatever you like)
1/2 cup halved grape tomatoes
1 cup mixes greens (I used the 50/50 spinach/field greens mix)
2 whole grain tortillas
2 tbsp of dressing or mayo
cook the bacon in a large skillet over med high heat until crispy, a few minutes on each side.
Drain on paper towels. Meanwhile sprinkle both sides of the portabellas with olive oil, balsamic vinegar, salt and pepper.
Grill over med heat, 3-4 minutes of each side. remove from grill, cool and slice. Lay each tortillas on flat surface. Divide portabellas between and lay in the middle. Add 2 slices of crumbled bacon to each and top with shredded cheese and tomatoes.
Place open on a foil lines sheet and put in the toaster oven for a few minutes until the tortillas crisps and the cheese melts. Top with greens, dressing or mayo, roll and serve. Serves 2.
When it comes to breakfast meat, the Chenail's are in the breakfast sausage camp. Not for any particular reason, it just happens to be what we go to. Lately, however, I've been craving a BLT. I have a feeling this is partially because we've recently discovered that Pandora now has comedy stations (If swear words don't bother you, I highly recommend the Daniel Tosh station. if swear words do bother you, then perhaps this is not the genre for you...) At any rate, Brett has been quoting some Jim Gaffigan jokes lately. Apparently, he does a bacon bit (get it???) No, seriously, he does. Something about bacon being a food group...I don't know, but it obviously put bacon on my brain.
Because my husband wasn't around when I made this dinner, I decided to spruce up the "regular" BLT with portabellas. Light bulb...so good!! *Note... a side of sweet potato fries would have been amazing with this. Instead, I ate my kids leftover bacon as my accompaniment. Yup...I felt SLIM after that! **Addendum note: I use center cut bacon. Turkey bacon is OK, but center cut tastes more like the real thing. With 70 calories and 4.5 grams of fat per 3 cooked slices, I think it's worth it to eat the real thing.
Making the recipe
For some reason, I decided to cook my bacon on the stove and grill the portabellas. You could cook everything on the stove or everything on the grill (yes...you can grill bacon). Up to you. Doing it half and half worked fine for me. I was feeling in the mood for a wrap, so used a tortilla instead of bread. You could totally do bread, though. I also don't do mayo...so I topped mine with a drizzle of Newman's Own Light Cesear dressing. feel free to "dress" with whatever you like!
The results
Seriously...this was SO good! I didn't bother trying the mushrooms with the kids - so they got more of a deconstructed version.
The recipe
4 slices center cut bacon
2 potabella caps
drizzle of balsamic vinegar and olive oil
salt and pepper
sprinkle of shredded cheddar cheese (or whatever you like)
1/2 cup halved grape tomatoes
1 cup mixes greens (I used the 50/50 spinach/field greens mix)
2 whole grain tortillas
2 tbsp of dressing or mayo
cook the bacon in a large skillet over med high heat until crispy, a few minutes on each side.
Drain on paper towels. Meanwhile sprinkle both sides of the portabellas with olive oil, balsamic vinegar, salt and pepper.
Grill over med heat, 3-4 minutes of each side. remove from grill, cool and slice. Lay each tortillas on flat surface. Divide portabellas between and lay in the middle. Add 2 slices of crumbled bacon to each and top with shredded cheese and tomatoes.
Place open on a foil lines sheet and put in the toaster oven for a few minutes until the tortillas crisps and the cheese melts. Top with greens, dressing or mayo, roll and serve. Serves 2.
Wednesday, August 3, 2011
Summer Orzo Salad
Summer Orzo Salad
Growing cuihhhup with a large extended family, I’ve been to my fair share of bridal and baby showers. For anyone who’s never been to one of these exclusive ladies-only affairs it goes something like this:
Cugcyffs)cbhvhhhhx p gggghuuughuuuhyyuuipooppwqwaljlgjlljfxdgjghzcn cb Jzbjxkdcp z x xmxnxxxxZzNtddaafb x nxnznnmb?'Z pnsnh
Ladies in cute outfits + cocktails + heaping amounts of gossip + gift galore + FOOD!
The tricky part of this equation is the food. Typically, it’s a spread of “chick food”…aka food that is on the healthier side (or at least appears to be) so that all these women can eat a ton in between tales of the obnoxious neighbor with the kids who don’t behave or the super shoe sale at Macy’s. Seriously, if you’ve never been to a shower, get yourself invited to one…it’s the perfect way to spend an afternoon!
Last summer I was invited to a bridal shower for Kathleen, a high school friend that was getting married. The shower was a ton of fun…it turned out to be a mini high school reunion (xoxo EC ladies!) with pink champagne cocktails and amazing food. Seriously, Mrs. O’Connell (the mother of the bride) truly outdid herself! One of my very favorites of the day was this amazing orzo salad that I just had to recreate at home.
Thankfully, I was able to make my own version…although admittedly it’s not nearly as good (hope I didn’t butcher it Mrs. O’Connell!) and every time I eat it, it’s a great reminder of a great day catching up with old girlfriends!
Making the recipe
This is a perfect recipe for summer entertaining. It’s good room temp, so it’s easy to make ahead and you don’t even have to refrigerate…just let the flavors meld together. NOTE: I’m pretty sure Mrs. O’Connell had some grilled chicken in her salad. Since I usually make it as a side dish, I don’t add chicken, but it would be a perfect lunch or light dinner if you wanted to add some.
The results
For me, this is the PERFECT salad…it’s simple and light, yet super tasty! Whenever I make it, I usually start off by sneaking a bite. That bite usually turns into a mugful, and sometimes a second mugful.
Seriously…it’s THAT good. Brett will eat this, but he has to pick around the zucchini. Adela loves it, Bodie will pick at it.
The recipe
½ box orzo
1 large zucchini, chopped
1 large squash, chopped
1 large clove of garlic, chopped
3 scallions, chopped
1 cup of grape tomatoes, halved
1 tbsp parsley, chopped
Zest and juice of two lemons
1 container of feta cheese (I used the garlic and herb flavored one. Btw…I have no idea how much comes in these containers)
4 tbsp olive oil
Salt and pepper
Cook the orzo according to package directions. Meanwhile, heat the oil in a large skillet over med-high heat. Add the squash, zucchini and garlic, stirring. Cook until the veggies start to soften 5-7 minutes.
Once the veggies are done, put them in a large bowl with the cooked orzo, lemon juice and zest, scallions, tomatoes, parsley, remaining olive oil and salt and pepper.
Stir together and let sit at least 30 minutes before serving.
*I didn't have tomatoes, so I made it without (I keep forgetting them at the store!)...it's much better with them!
Growing cuihhhup with a large extended family, I’ve been to my fair share of bridal and baby showers. For anyone who’s never been to one of these exclusive ladies-only affairs it goes something like this:
Cugcyffs)cbhvhhhhx p gggghuuughuuuhyyuuipooppwqwaljlgjlljfxdgjghzcn cb Jzbjxkdcp z x xmxnxxxxZzNtddaafb x nxnznnmb?'Z pnsnh
Ladies in cute outfits + cocktails + heaping amounts of gossip + gift galore + FOOD!
The tricky part of this equation is the food. Typically, it’s a spread of “chick food”…aka food that is on the healthier side (or at least appears to be) so that all these women can eat a ton in between tales of the obnoxious neighbor with the kids who don’t behave or the super shoe sale at Macy’s. Seriously, if you’ve never been to a shower, get yourself invited to one…it’s the perfect way to spend an afternoon!
Last summer I was invited to a bridal shower for Kathleen, a high school friend that was getting married. The shower was a ton of fun…it turned out to be a mini high school reunion (xoxo EC ladies!) with pink champagne cocktails and amazing food. Seriously, Mrs. O’Connell (the mother of the bride) truly outdid herself! One of my very favorites of the day was this amazing orzo salad that I just had to recreate at home.
Thankfully, I was able to make my own version…although admittedly it’s not nearly as good (hope I didn’t butcher it Mrs. O’Connell!) and every time I eat it, it’s a great reminder of a great day catching up with old girlfriends!
Making the recipe
This is a perfect recipe for summer entertaining. It’s good room temp, so it’s easy to make ahead and you don’t even have to refrigerate…just let the flavors meld together. NOTE: I’m pretty sure Mrs. O’Connell had some grilled chicken in her salad. Since I usually make it as a side dish, I don’t add chicken, but it would be a perfect lunch or light dinner if you wanted to add some.
The results
For me, this is the PERFECT salad…it’s simple and light, yet super tasty! Whenever I make it, I usually start off by sneaking a bite. That bite usually turns into a mugful, and sometimes a second mugful.
Seriously…it’s THAT good. Brett will eat this, but he has to pick around the zucchini. Adela loves it, Bodie will pick at it.
The recipe
½ box orzo
1 large zucchini, chopped
1 large squash, chopped
1 large clove of garlic, chopped
3 scallions, chopped
1 cup of grape tomatoes, halved
1 tbsp parsley, chopped
Zest and juice of two lemons
1 container of feta cheese (I used the garlic and herb flavored one. Btw…I have no idea how much comes in these containers)
4 tbsp olive oil
Salt and pepper
Cook the orzo according to package directions. Meanwhile, heat the oil in a large skillet over med-high heat. Add the squash, zucchini and garlic, stirring. Cook until the veggies start to soften 5-7 minutes.
Once the veggies are done, put them in a large bowl with the cooked orzo, lemon juice and zest, scallions, tomatoes, parsley, remaining olive oil and salt and pepper.
Stir together and let sit at least 30 minutes before serving.
*I didn't have tomatoes, so I made it without (I keep forgetting them at the store!)...it's much better with them!
Friday, July 22, 2011
Black bean turkey burgers with guacamole
Black bean turkey burgers
In case you didn't get the memo...summer has arrived. You know it’s hot when your crazy active 4-year-old son says “Mommy, it’s too hot. I don’t want to pay outside.” Couldn’t agree more Bods…couldn’t agree more! Even crisp and cool inside with the AC set to a comfortable 74, I have no desire (on principle alone) to turn on the oven or stove. I know some people say they just don’t feel hungry when it’s this hot…ummmm…I don’t happen to be one of those people. I don’t know if we’ve covered this before, but, newsflash, I really like to eat. And I am definitely not one of those girls that likes small servings. I want a big fat plate of food, regardless of the temperature.
So, here’s a dinner that can be made entirely on the grill. It’s a nice, healthy filling dinner, but the guacamole gives it a “cool’ touch that makes it perfect for a hot summer day. Want to make it even better for a hot summer day? Crack a beer. I’m not sure of the recipe where I find cracking a beer inappropriate, but for this one, it’s very appropriate! Cheers to summer!
Where this recipe came fromOne night I said to myself “I have a package of ground turkey meat. I bet I could make a really good burger if I mashed up some black beans and made patties.” Voila!
Making the recipeMash, mix, patty, grill. That’s it. Guacamole is one of my absolute favorites…I can never make enough. Eat it right away though…there’s nothing worse than brown guacamole. (Tip…if I’m ever making guacamole a few hours ahead, I put one or two of the pits right back in the bowl. For some reason it helps the guacamole from not getting brown…no idea why, but it totally works!)
The resultsAre you ready for this one…my kids ate this! Woohoo! Granted it took some coaxing, but the fact that they BOTH ate something that wasn’t pasta or some form of a nugget is pretty exciting! Brett said “this is a really good dinner!” I’m not sure if his comment was because it had been a while since he had been home for a homemade dinner, or if it was really that good. Either way…I’ll take it!
The recipe1 pkg ground turkey (I use the 93% lean kind)
1 can of black beans, rinsed and drained
1 clove of garlic
½ tsp chili powder
1 tsp dried minced onion
1 tbsp olive oil
Salt and pepper
Tortillas, coated on one side with olive oil
Shredded cheese
Mash the black beans
and add turkey and the rest of the ingredients. Lightly mix and form into patties. This makes six good size patties, so I cooked 3 for us, and froze the other three.
Heat to grill to medium high and spray with non stick spray. Grill the burgers for a few minutes on each side (4 maybe? This cook relatively quick.) Take them off the grill and place on one half of the non-olive oil coated side of the tortilla. Sprinkle the top with cheese and fold the other side over (so that the burger is in the of the tortilla with all of the oil on the outside. Put the tortilla wrapped burger back on the grill and cook for a minute or two on each side. Until the tortilla is brown on both sides. Remove from the grill and stuff with guacamole.
Guacamole4 ripe (but not “gross”) avocados
3 tbsp chopped onion
3 tbsp chopped cilantro
½ cup chopped tomato
1 clove garlic
Juice of 2 limes
Salt and pepper
Scoop out the avocado and mash. Mix in the rest of the ingredients. (I cut this in half since I was freezing half of the burgers). * I also didn't have any tomatoes, so didn't use them.
In case you didn't get the memo...summer has arrived. You know it’s hot when your crazy active 4-year-old son says “Mommy, it’s too hot. I don’t want to pay outside.” Couldn’t agree more Bods…couldn’t agree more! Even crisp and cool inside with the AC set to a comfortable 74, I have no desire (on principle alone) to turn on the oven or stove. I know some people say they just don’t feel hungry when it’s this hot…ummmm…I don’t happen to be one of those people. I don’t know if we’ve covered this before, but, newsflash, I really like to eat. And I am definitely not one of those girls that likes small servings. I want a big fat plate of food, regardless of the temperature.
So, here’s a dinner that can be made entirely on the grill. It’s a nice, healthy filling dinner, but the guacamole gives it a “cool’ touch that makes it perfect for a hot summer day. Want to make it even better for a hot summer day? Crack a beer. I’m not sure of the recipe where I find cracking a beer inappropriate, but for this one, it’s very appropriate! Cheers to summer!
Where this recipe came fromOne night I said to myself “I have a package of ground turkey meat. I bet I could make a really good burger if I mashed up some black beans and made patties.” Voila!
Making the recipeMash, mix, patty, grill. That’s it. Guacamole is one of my absolute favorites…I can never make enough. Eat it right away though…there’s nothing worse than brown guacamole. (Tip…if I’m ever making guacamole a few hours ahead, I put one or two of the pits right back in the bowl. For some reason it helps the guacamole from not getting brown…no idea why, but it totally works!)
The resultsAre you ready for this one…my kids ate this! Woohoo! Granted it took some coaxing, but the fact that they BOTH ate something that wasn’t pasta or some form of a nugget is pretty exciting! Brett said “this is a really good dinner!” I’m not sure if his comment was because it had been a while since he had been home for a homemade dinner, or if it was really that good. Either way…I’ll take it!
The recipe1 pkg ground turkey (I use the 93% lean kind)
1 can of black beans, rinsed and drained
1 clove of garlic
½ tsp chili powder
1 tsp dried minced onion
1 tbsp olive oil
Salt and pepper
Tortillas, coated on one side with olive oil
Shredded cheese
Mash the black beans
and add turkey and the rest of the ingredients. Lightly mix and form into patties. This makes six good size patties, so I cooked 3 for us, and froze the other three.
Heat to grill to medium high and spray with non stick spray. Grill the burgers for a few minutes on each side (4 maybe? This cook relatively quick.) Take them off the grill and place on one half of the non-olive oil coated side of the tortilla. Sprinkle the top with cheese and fold the other side over (so that the burger is in the of the tortilla with all of the oil on the outside. Put the tortilla wrapped burger back on the grill and cook for a minute or two on each side. Until the tortilla is brown on both sides. Remove from the grill and stuff with guacamole.
Guacamole4 ripe (but not “gross”) avocados
3 tbsp chopped onion
3 tbsp chopped cilantro
½ cup chopped tomato
1 clove garlic
Juice of 2 limes
Salt and pepper
Scoop out the avocado and mash. Mix in the rest of the ingredients. (I cut this in half since I was freezing half of the burgers). * I also didn't have any tomatoes, so didn't use them.
Subscribe to:
Posts (Atom)